Wednesday, 5 August 2015

Harlem River Waters


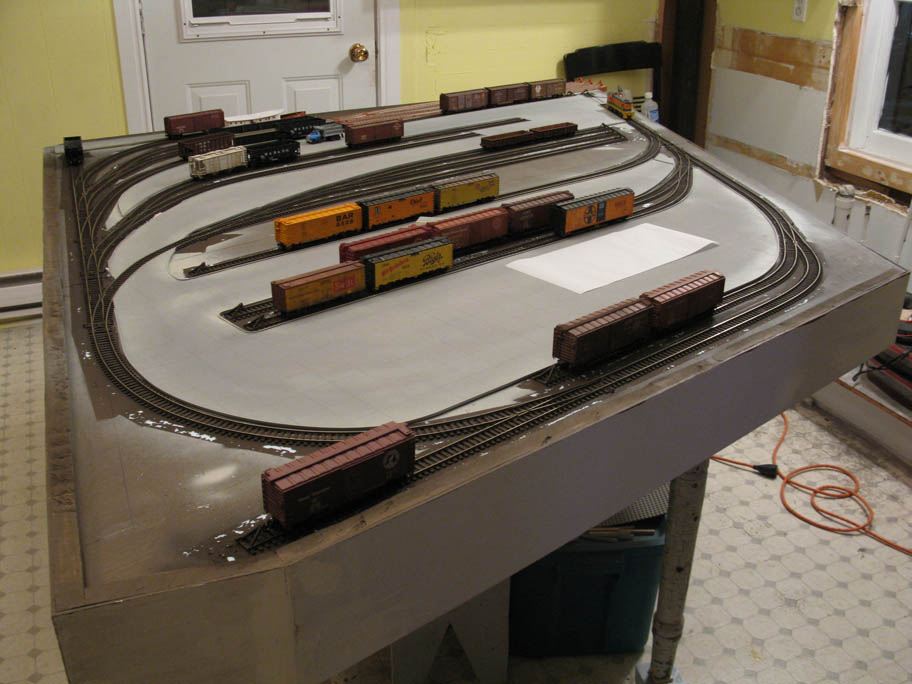
A few days ago, I decided to complete the water body. It's my first time modelling water even if I've been doing model railroading for over 25 years now. Harlem River waters are your
typical greyish/brownish color found on any urban setting According to pictures, the surface is moderatly rippled.


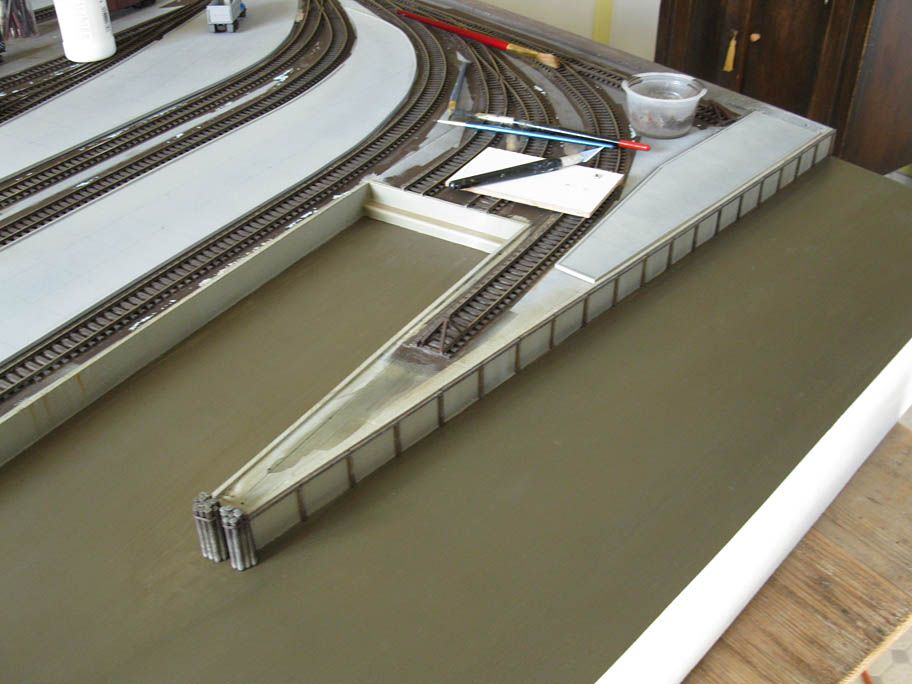
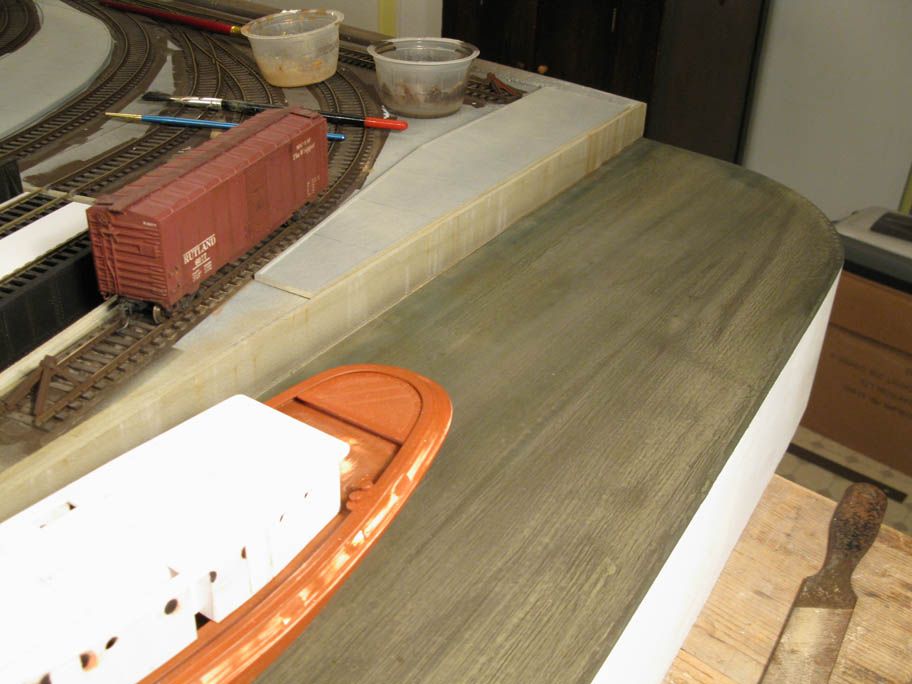
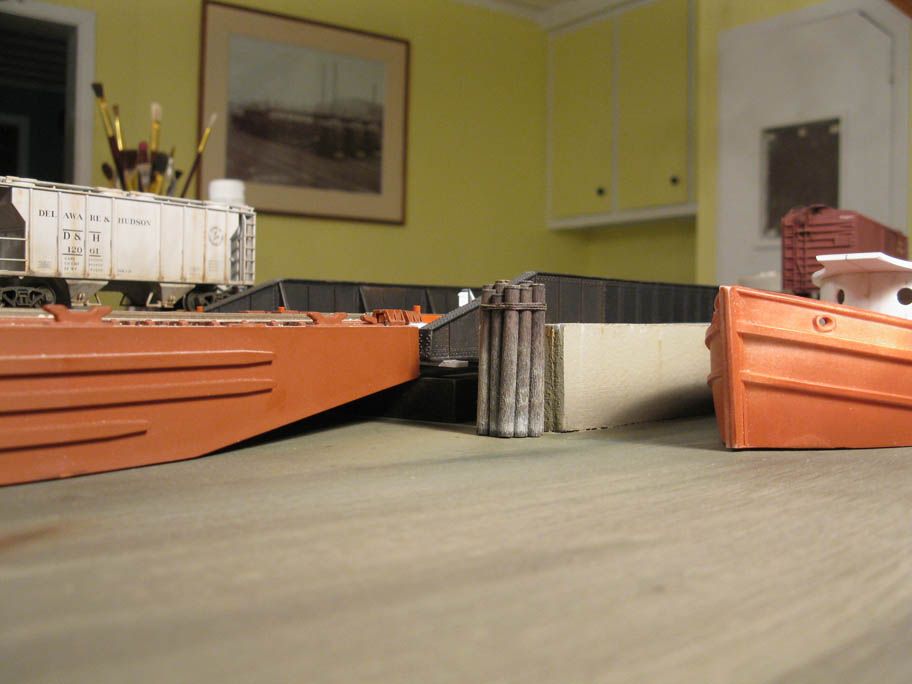
The first step was to add the bridge pontoon. It's basically a block of MDF. I rusted it using acrylics and cosmetic sponges. These work wonders. I started by applying a base coat color mixed with chocolate brown and green. When dry, I airbrushed the seawalls base with a mist of alcohol and India ink. I made sure the water near the walls was darker to give the impression waters are deep there.


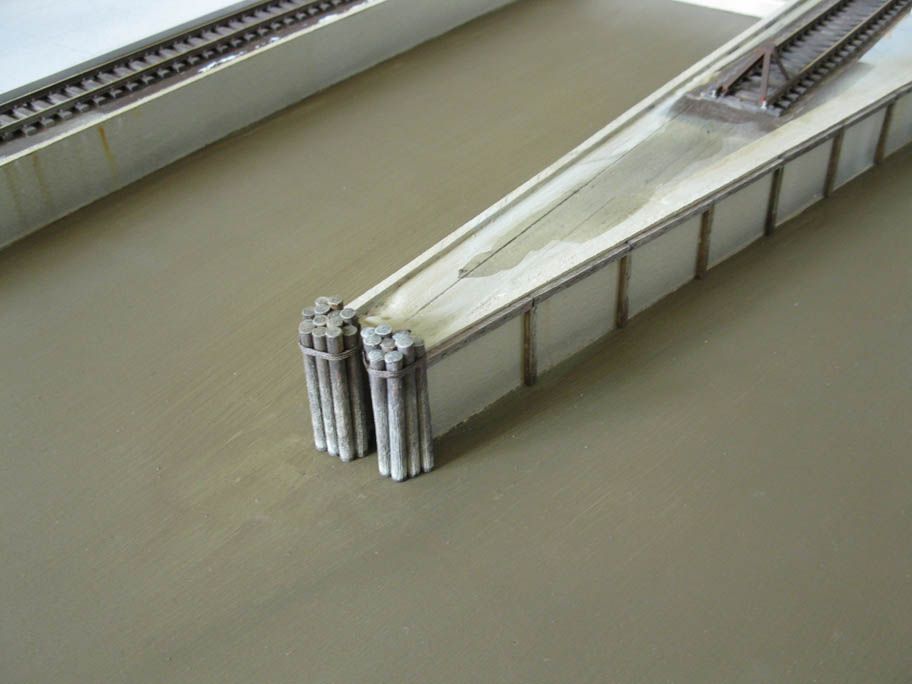
Next step was to apply acrylic gloss medium gel. After a few minutes, when starting to get thicker, I dabbled the surface to create the ripple. A lot of air bubbles got trapped into the mix and it was really annoying to remove them. It wasn't perfect, but still decent. The next morning, another coat was added and dabbled. For this second coat, I added some acrylic paint to the medium to get a darker shade of my base color. I used it to create shadows on the water. I often saw that kind of shadow when St. Lawrence river's waters are muddy. Some highly were also added and I dramatized the shadow near the walls.

 
Finally, today, I added two coats of Future Floor finish. I heavily diluted Citadel washes to make this layer muddy. It really helped to subdue my crude painted shadows. They are quite cartoony I must say. At least, when the tug and carfloat are there, it looks better. I'm aware it could be better, but show must go on. I have to fit against my improductive perfectionnist state of mind for once. Anyway, the layout is already beyond Jérôme's expectations.


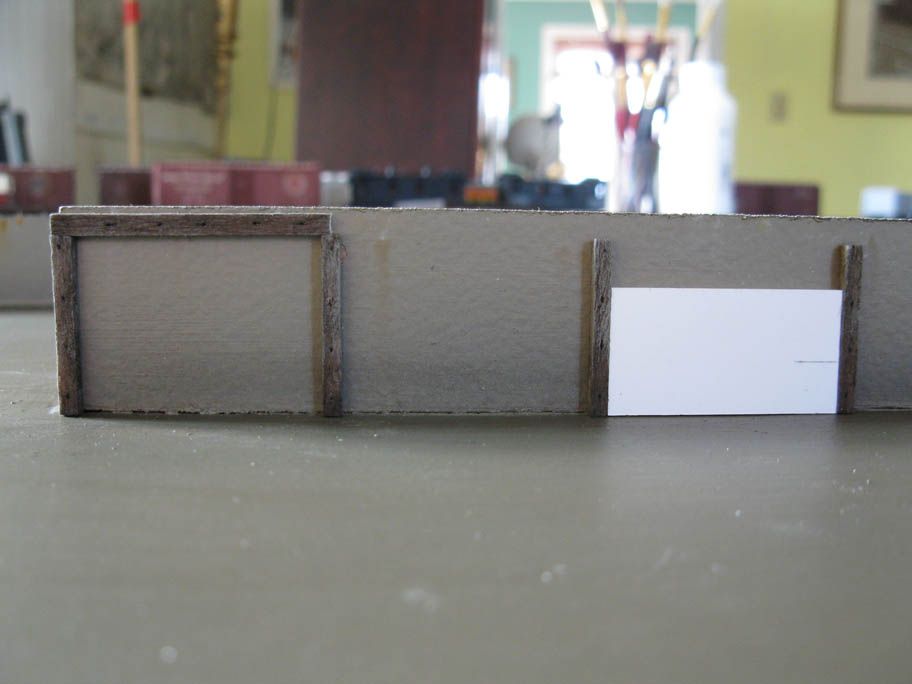
I also built concrete walls with cardboard. These will surround the property on 148th Street and Exterior Street. They were painted with Krylon flat camouflage beige then weathered liberally with oil paints. When dry, I dullcoted them. I love those easy technics, they really bring life to the most generic structures.


The carfloat is also getting a coat of paint and rust. More to come.

Tuesday, 28 July 2015

More pier details...

Some more wood details added this morning. Next step is to complete the pontoon and secure it in place permanently. After, the last weathering will be done before adding the acrylic gloss medium.


Monday, 27 July 2015

Detailing Concrete Piers

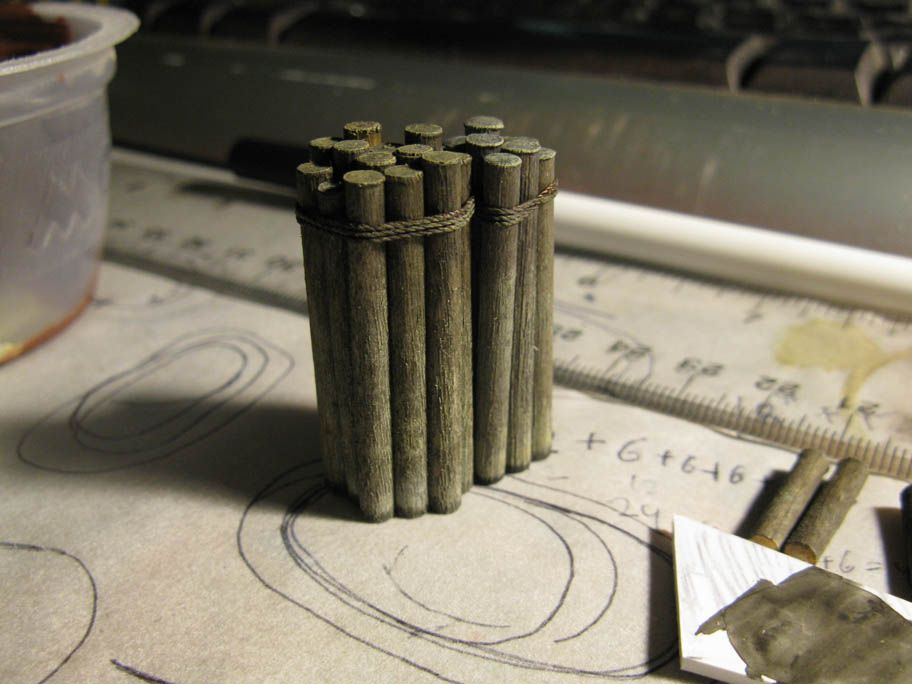
I did some work yesterday, mainly painting and weathering the concrete piers and making wooden pilings. I did another bunch of pilings today. I use wooden stick used to light candlelight in churches. Many years ago, when I worked at a shrine, a brother gave me quite a bunch of them for modelling purpose. They are about 2.5mm diameter, so they are useful for many things (utility poles, etc.).

 
To weather the wood, I tried a technic called ebonizing. You apply tea to wood, let it dry, them apply a solution of steel wool/peroxide. Most people use vinegar, but peroxide dissolve the steel wool faster (in a matter of minutes instead of days). It reacts with wood (and tea) tannings by oxidizing them in a nice grey color. If you add too much, it will turn almost black. I made two application and drybrushed a buff color paint to make wood grain pop up. This was also a good way to replicate real wooden pilings color gradient. The famous CPR carfloat in Rosebery, BC was used as prototype to make sure the weathering pattern was realistic.


Next step is to paint water. It was supposed to be done today, but weather was quite nice and I decided it was the best time to replace my veranda's wood planking. Lots of rain in the upcoming days, so it will be perfect for modelling. For the water, I'm thinking using a greenish/brown - kind of varech color - then apply several layers of acrylic gloss medium to add ripples.

Saturday, 25 July 2015

Reaching Your Goals


I gave myself two weeks to complete this project. The deadline was my own vacations. I'm glad to tell you I reach this step in a week. At a rate of 8 to 12 hours per day, it moved at a steady pace.


I consider I have now completed all the messy basic stuff including painting track and roads in basic colors. To me, this is a true achievement. Thought I started to build many layouts in my life - probably over 20 - this is the second time I reach that point where only building structures, scenery and detail cars remain. The first time was when I was 7 years old and I built my first 4' x 4' train layout with my father, sister and brother. Good to be back on track after a 25 years hiatus! Seriously, never reaching some level of achievement can be quite distressing at some point.


I've learned a few things bout myself while doing this project. I didn't over design the project, but took a decent amount of time to plan carefully the project. When I started to rip wood, I knew there was no turning point and decided to address issues as they appeared. I didn't let small things stop the project and thought about alternate way to get the job done in due time. I was ready to sacrifice my obsession for perfection which had always been my most major pitfall. Funnily, I can't say I cut corners on quality as the final product is quite good. Finally, I didn't set a real schedule but each time I started a job, I made a point I would complete it on the same day if possible. That was particularly important to get over boring or painstaking work.


So, what has been achieved today? Well, all the roads were painted. I became lazy and decided to give a try at Lance Mindheim spray can technic using grey primer. I didn't try to get a solid color but instead tried to keep some transparencies here and there to get color variation. The cardboard I used had a very nice color from the start. With what remained of my last can of Krylon Satin River Rock, I highlighted the concrete curbs and some other spots. It was merely a mist but it did improve the general look.


Next, I spray a good coat of Dullcote before airbrushing a mix of India ink and isopropyl alcohol to give some wear and depth. When dry, I draw the concrete slab lines with a black color pencil. It may sound childish, but it really gave a lot of details with too much effort. It was also a good way to hide the unsightly real seams in my roads. Concrete slabs follow a rough 12 feet x 12 feet grid. I followed U.S. Highway practices from the 20s and 30s.


Finally, the last step was to add cracks here and there to represent old concrete slabs. I particularly detailed the grade crossing where a lot of stress is exerted by trucks and trains.


The most rewarding moment was when all the masking tape was removed and american cars were added to the scene. We can already have a good idea of the final product. Better, some scenes are instantly recognizable from old prototype pictures of Harlem Station. Oh, I didn't remember I had so much old U.S. cars. Lots of fun detailing projects in sight!

 
The most urgent matter is to build a battery powered locomotives and operate the layout!


And now  a few railfan shots!


Concrete pads and curbs

Harlem Station had a tremendous amount of paved surfaces. According to prototype pictures, it was all concrete and no asphalt. I tried to localize joints in pictures but couldn't The paved area date back to the late 20s. I find it odd there's no joint. I would at least expect one at each 12 feet increments.


Paved area are done with 2 mm thick cardboard, curb with 1.5mm styrene strips cemented with CA glue. It was time consuming, but I like the result a lot.


The next big challenge is painting the concrete. It will take a lot of masking tape to protect the tracks from the spray. I'm still evaluating my options.